Importing demo content means you’ll get the same content, design and style as Mou live demo.
To import demo content, you must install an extra plugin from the official WordPress plugins repository called One Click Demo Import.

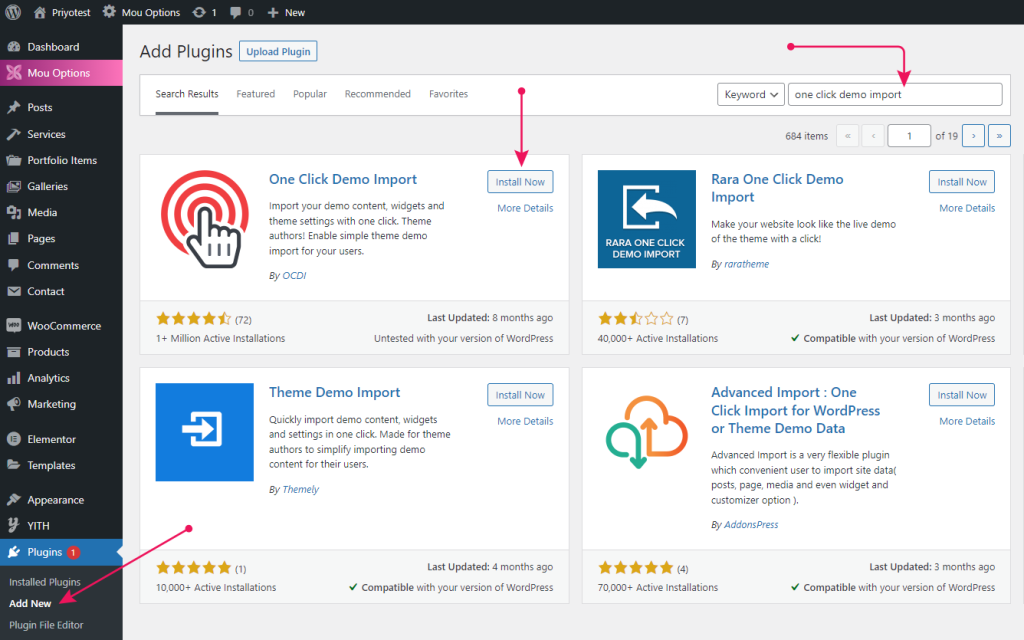
Install One Click Demo Import Plugin
Navigate to Plugins > Add New and Search for keywords one click demo import and Install Now. Wait till the installation is complete and click Activate.
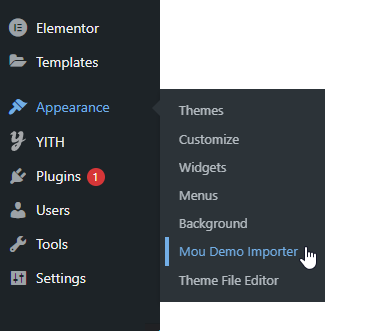
After the plugin is activated, you’ll see a new menu item called Mou Demo Importer in the Appearance menu.
There are 2 ways to import demo content via One Click Demo Import Plugin:
- Automatic
- Manually
⚠️ Warning
Before you start the demo import process, please make sure all the required plugins are activated. Otherwise, you may experience issues.
Automatic:
To start importing demo data you’ll see a button called Import Demo Data at the bottom of the OCDI (One Click Demo Import) plugin dashboard.

Follow the steps below to import demo data automatically:
⏩ Step 1
In your WordPress Admin Panel, go to Appearance > Mou Demo Importer
⏩ Step 2
Click on Import Demo Data button
⏩ Step 3
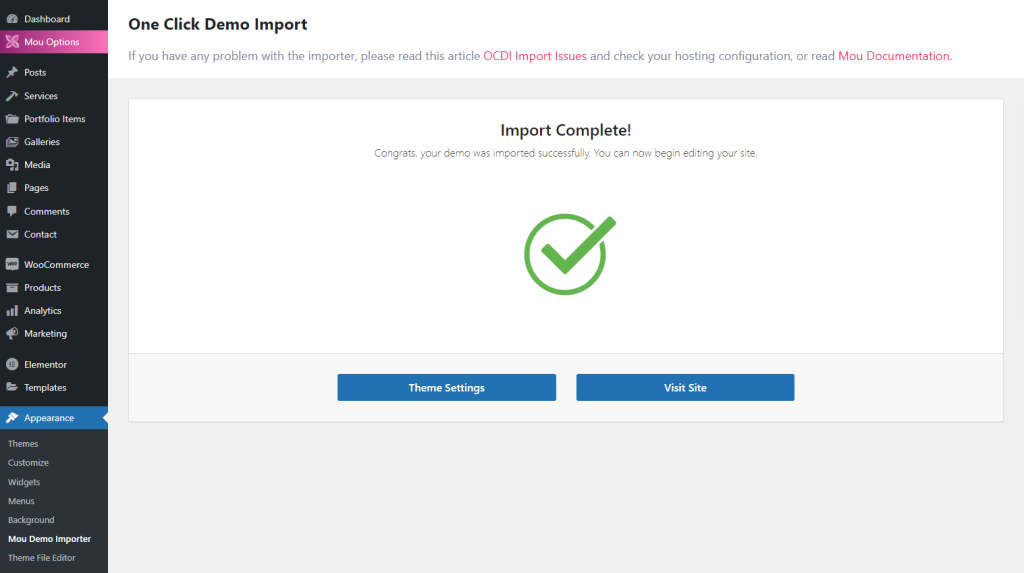
Click on Continue & Import button and wait until you get the completion message!
✨ Tips
Without selecting any recommended plugin from One Click Demo Import it will take a few minutes to complete!
If you have any problem with the importer, please read this article OCDI Import Issues, and check your hosting configuration or contact me via my Envato Profile.
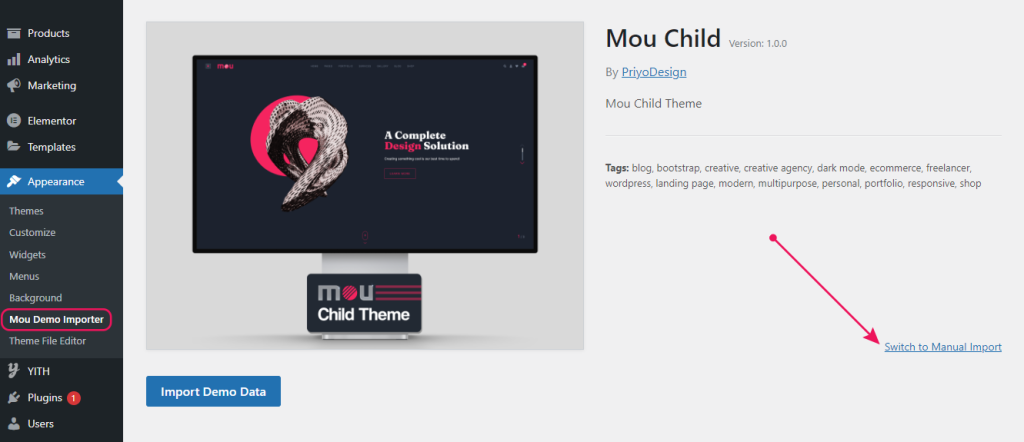
Import demo data manually:
To start importing demo data you’ll see a link called Switch to Manual Import at the bottom of the OCDI (One Click Demo Import) plugin dashboard.
Follow the steps below to import demo data manually:
⏩ Step 1
In your WordPress Admin Panel, go to Appearance > Mou Demo Importer
⏩ Step 2
Click on Switch to Manual Import
⏩ Step 3
- From Import Content box click on Select a File button for an XML file (
demo-content.xmlincluded into Demo Content folder). - From Import Widgets box click on Select a File button for a WIE file (
widgets.wieincluded into Demo Content folder). - From Import Customizer box click on Select a File button for a DAT file (
customizer.datincluded into Demo Content folder). - From Import Redux box click on Select a File button for a JSON file (
redux.jsonincluded into Demo Content folder). Enter option namemou_optionsin the input field.
⏩ Step 4
Click on Continue & Import button and wait until you get the completion message!
✨ Tips
Without selecting any recommended plugin from One Click Demo Import it will take a few minutes to complete!
If you have any problem with the importer, please read this article OCDI Import Issues, and check your hosting configuration or contact me via my Envato Profile.